Tuesday, June 28, 2022

Hearts of Gold Class from ANG

Melita is taking Michele Roberts' "Hearts of Gold" class from ANG.


Michele Roberts is not as well known as she should be since she doesn't have a website and her teaching is limited.  But her work, especially her goldwork, is outstanding.  This is an ANG Correspondence course and it looks like it is still available.

Jan Sprague is pilot stitching Michele's hearts book, which probably came out of the class.  There are ten hearts in the book, which you can see as Jan works on them.


Written by Jane/Chilly Hollow
Blogging at http://chillyhollownp.blogspot.com
and at http://chstitchguides.blogspot.com
© Copyright May 21, 2022 Jane M. Wood. All rights reserved.

Monday, June 27, 2022

How to Make Curls: The Movie

Ruth Schmuff gave her latest mystery class project curls!  (This is "Penelope and Her Imaginarium," from Sandra Vargas.)

Here's the link to the video explaining how to make these curls and then how to attach them to your canvas.  You can vary the size of the dowels the threads are wrapped around to have giant (or teeny) curls, depending on your design.

Written by Jane/Chilly Hollow
Blogging at http://chillyhollownp.blogspot.com
and at http://chstitchguides.blogspot.com
© Copyright May 20, 2022 Jane M. Wood. All rights reserved.

Sunday, June 26, 2022

ThreadBook

Amy posted to NP Nation that she really likes ThreadBook for keeping track of her thread stash.

I found another review here--

It's available for $14.99 USD on both the Apple and Google Play app stores.  Check for compatibility with the devices you use and read the reviews carefully before you buy.  

Written by Jane/Chilly Hollow
Blogging at http://chillyhollownp.blogspot.com
and at http://chstitchguides.blogspot.com
© Copyright May 20, 2022 Jane M. Wood. All rights reserved.

Saturday, June 25, 2022

How to Insert a Canvas in a Turtle Bag Part Two


Yesterday I showed how to stick a canvas with raw edges into the window of a Turtle Bag.  Today I'll show how to turn under and baste the edges before you insert the canvas in case you want a more finished panel.  

I strongly advise you make a paper pattern before you do any stitching or before cutting your finished canvas to insert in the bag.  That way you know your canvas will fit without anything showing you don't want to show.  You can fold or trim the paper pattern until you know what works, then use it to draw or baste where the stitching should stop.  In the example below, my canvas was stitched half an inch beyond the 5 1/2 x 7 inch space.  The entire front of the canvas is stitched but not all of that is visible through the window on the front of the Turtle Bag.


If you are certain about the correct size, trim the canvas around the outside margin.  I normally leave half an inch of raw canvas all the way around.  Finger press the raw edges back all around the outside.  Now trim the corners somewhat to reduce the bulk.  In the above picture, I've finger pressed the sides, then cut the corners off.  


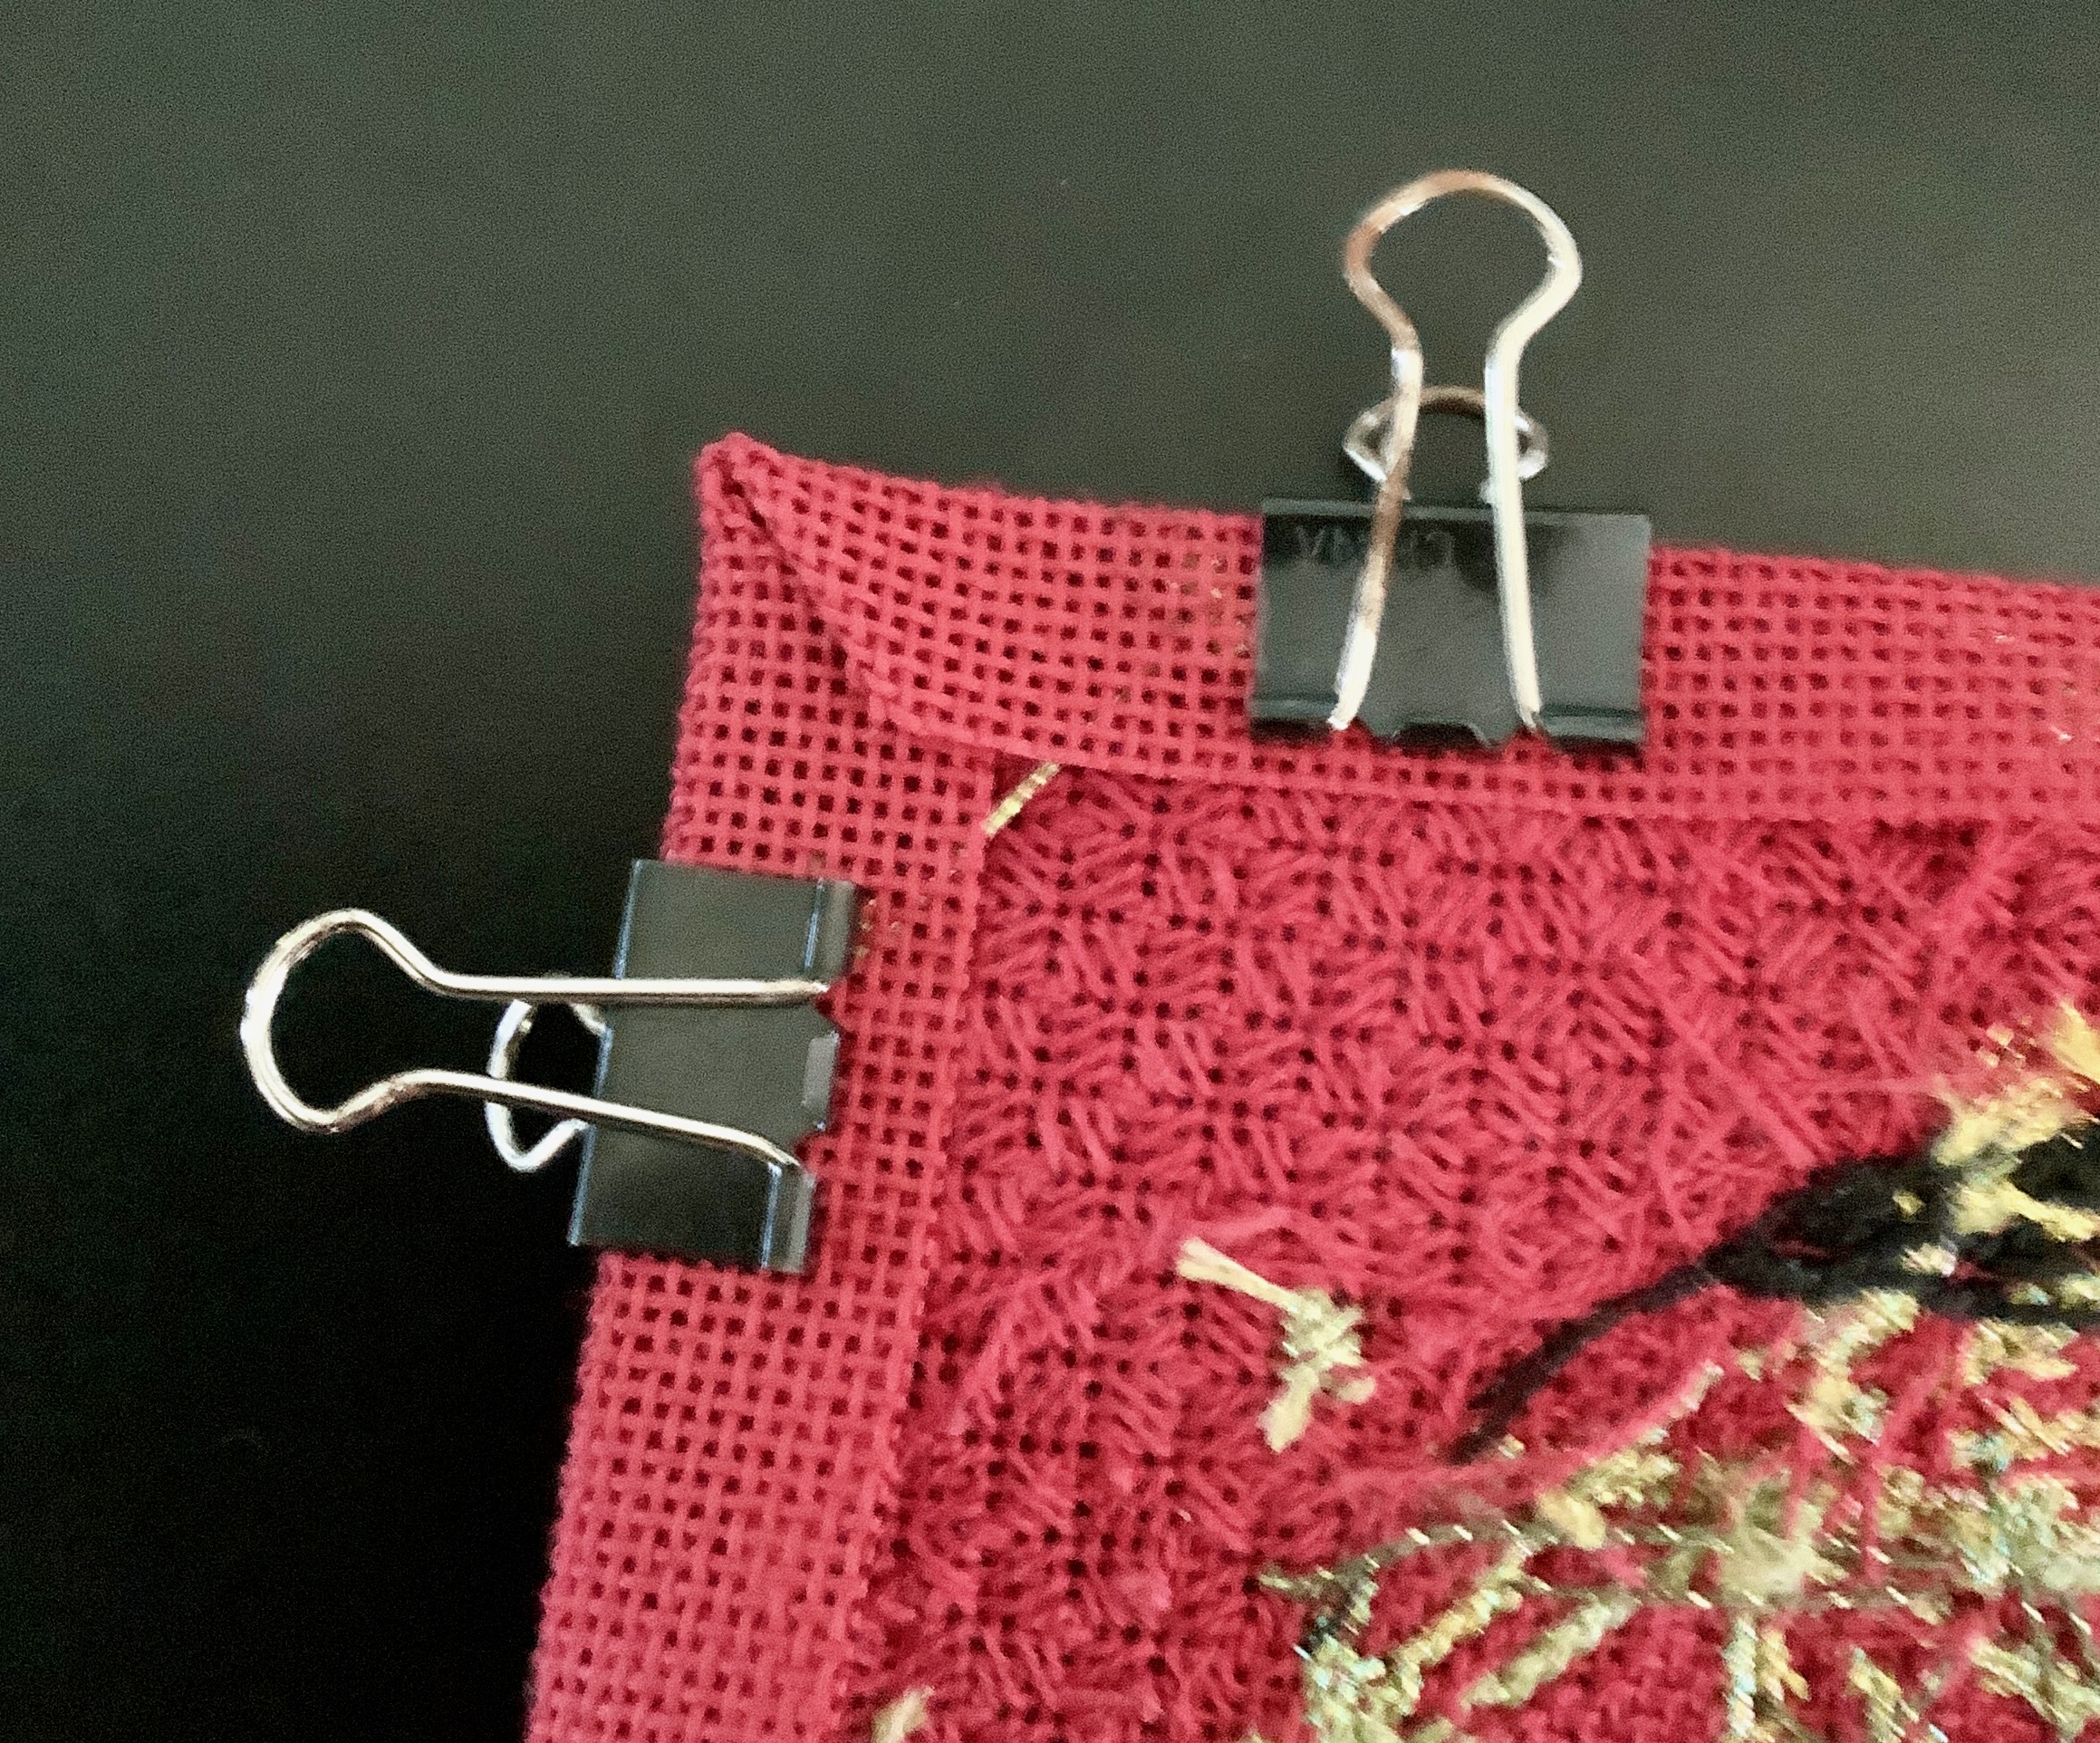
Now press the raw edges to the back again.  If you have clips of some kind, you can carefully fold the corners under so that they meet and use clips to hold the corners in position.


Now baste the corners together.  In the above example I'm using a doubled strand of sewing thread in a contrasting color so you can see.  Normally I use a color similar to the background color but that won't show up in a tutorial.  It doesn't have to be really neat.  I'm not the neatest when it comes to hand sewing but no one is going to see it.

Once all four corners are done, lay your canvas on a table and put a few books on top to help it stay flat.   (If your canvas has beads or ribbon work you might want to skip this step or use padding.)  This step is optional, but my canvas has no beads or very raised stitches and I wanted it flat.


Now just slide the canvas in the window pocket.  Add the stiff fabric panel if you wish.  Zip the top of the side panel closed and there you go.

The final step is to go shopping for the next canvas for your Turtle Bag!


Written by Jane/Chilly Hollow
Blogging at http://chillyhollownp.blogspot.com
and at http://chstitchguides.blogspot.com
© Copyright May 18, 2022 Jane M. Wood. All rights reserved.

Friday, June 24, 2022

How to Insert a Canvas in a Turtle Bag Part One

Turtle Bags with their windows on the side for installing needlepoint panels are a fun way to show off your stitching.  You can buy all sorts of fun designs sized to fit, too.


But what do you do after you stitch the canvas?  This posting will answer that question in two ways.  But first, some background:

The inserts need to be roughly 5 1/2 by 7 inches.  It doesn't matter if you buy the slightly larger tote bag (with two panels for needlework) or a cross body bag (only one side panel), the opening is roughly the same dimension.  I strongly advise you make yourself a paper pattern that is 5 1/2 x 7, cut it out, and stick in in the window of the bag to make sure that will work.  REMEMBER:  You need more canvas than what shows through the window.  Take your cutout and trace around it on another sheet of paper, then measure a border of half an inch wider all the way around.  Cut that out and stick it in your bag to make sure that this is enough margin for the needlepoint to not shift around. You want your canvas to fit snugly in the opening.


Turtle Bags are made with a zipper at the top of the side where the windows fit.  See the photo above.   Inside is a stiff fabric panel that comes with the bag.


This photo shows the stiff fabric panel behind the first needlepoint panel I stitched.  I like to insert my panel and then carefully slide the stiff fabric panel back behind the stitching.  It helps keep the needlepoint from shifting around while I'm carrying it.  You don't have to do this, however.  It's optional.


But how do you finish the needlepoint before you insert it?  The answer is you don't have to.  What you see is the needlepoint panel I am removing after carrying the purse for six months.  The raw edges are simply trimmed to the size that fits in the panel.  They are turned under a bit because the bag mashed them that way while I carried it.  The stitched area is 1-2 rows larger than the 5 1/2 x 7 inch window.  The entire canvas's outside dimensions are nearly an inch wider than the design.  The basting stitches you see are because I basted a layer of black tulle over my stitching as I had beads and ribbon flowers I wanted to protect.  

But what if you want a more finished look?  I'll talk about how to achieve that tomorrow.

Written by Jane/Chilly Hollow
Blogging at http://chillyhollownp.blogspot.com
and at http://chstitchguides.blogspot.com
© Copyright May 18, 2022 Jane M. Wood. All rights reserved.