Showing posts with label instructions. Show all posts

Tuesday, June 11, 2024

Berlin Embroidery Teaches Needle Cases and French Link Book Binding Stitch

If you've always wanted to create your own felt needle book, Tanja Berlin of Berlin Embroidery now offers a PDF file tutorial on French Link book binding stitch to make it easy to sew your needle book pages together in a decorative stitch.  

Tanja sells little needle case kits with full instructions and includes the French Link book binding tutorial for free if you buy one of them.  Currently there are two needle cases available, both using needlepoint canvas for the front and back.  You can buy the designs, threads, instructions and canvas from Tanja but will have to source two thick pieces of felt and ribbon for assembly yourself.  You will also need Craft Tacky Glue.  

If you have a needle case design in mind already, you can just order the instructions for the French Link book binding stitch to assemble your needle case for $7.88 USD. (Tanja is in Canada.)

Written by Jane/Chilly Hollow
Blogging at http://chillyhollownp.blogspot.com
and at http://chstitchguides.blogspot.com
© Copyright April 24, 2024 Jane M. Wood. All rights reserved.

Friday, May 24, 2024

Creating Plaids: The Movies

For those who like visual instructions and want to make plaid patterns in needlepoint, Krissy Johnson Designs has posted a series of videos to help you understand the process--
birthday plaids two ways, the original and a thread saver version-

birthday plaid, thread saver version continues-

more birthday plaid, with a more complicated date-

Written by Jane/Chilly Hollow
Blogging at http://chillyhollownp.blogspot.com
and at http://chstitchguides.blogspot.com
© Copyright April 12,  2024 Jane M. Wood. All rights reserved.

Thursday, January 4, 2024

Making a Tassel with DMC Cotton Floss

The DMC website has instructions on how to make one tassel from one skein of DMC cotton floss.  Step one--find a skein of your favorite color.  Step two--click on the link to follow the instructions which are both written and in video form.

Step three--use your new tassel on a key, as a dangle on a light pull, as a Christmas ornament, or as part of a special wrapped gift's decoration.

Written by Jane/Chilly Hollow
Blogging at http://chillyhollownp.blogspot.com
and at http://chstitchguides.blogspot.com
© Copyright December 17, 2023 Jane M. Wood. All rights reserved.

Thursday, July 20, 2023

How to Attach Needlepoint to Pottery

Jenya Rose explains how to attach needlepoint to the outside of pottery in this posting on Facebook's Needlepoint Nation.

For those without a Facebook account, Jenya Rose says:

"Some of you asked for instructions for finishing needlepoint onto pottery:
Cut canvas to half inch from stitching, fold under, make all cuts for rounded sections, etc before adding glue. Once you're happy with shape and you see at least 1 stitch in on back (so no canvas is visible on front) use Ailenes Tack Glue and sewing clips to set. 

Make 2 photocopies of design (I did 1 color, 1 b&w). Use 1 to decide on placement, use one as a cutout, tape the outside of template onto vase, sand inside design area (I used a Dremel with stone grinding bit) just to rough up glaze. 


Remove sewing clips, put 1 piece painter's tape across vase so placement is straight. Cover back of canvas with E6000 glue, place. Put photocopy of design on top of canvas and tape across surface to adhere tightly to vase. Leave for 30 min., remove tape and paper. Let cure for 24 hours.
White vase seems best for first time (matches blank canvas in case any is visible)."

Written by Jane/Chilly Hollow
Blogging at http://chillyhollownp.blogspot.com
and at http://chstitchguides.blogspot.com
© Copyright June 20, 2023 Jane M. Wood. All rights reserved.

Sunday, January 1, 2023

Planet Earth's Key Fob Instructions

Key Fob, Canvas, Instructions, Paper Pattern

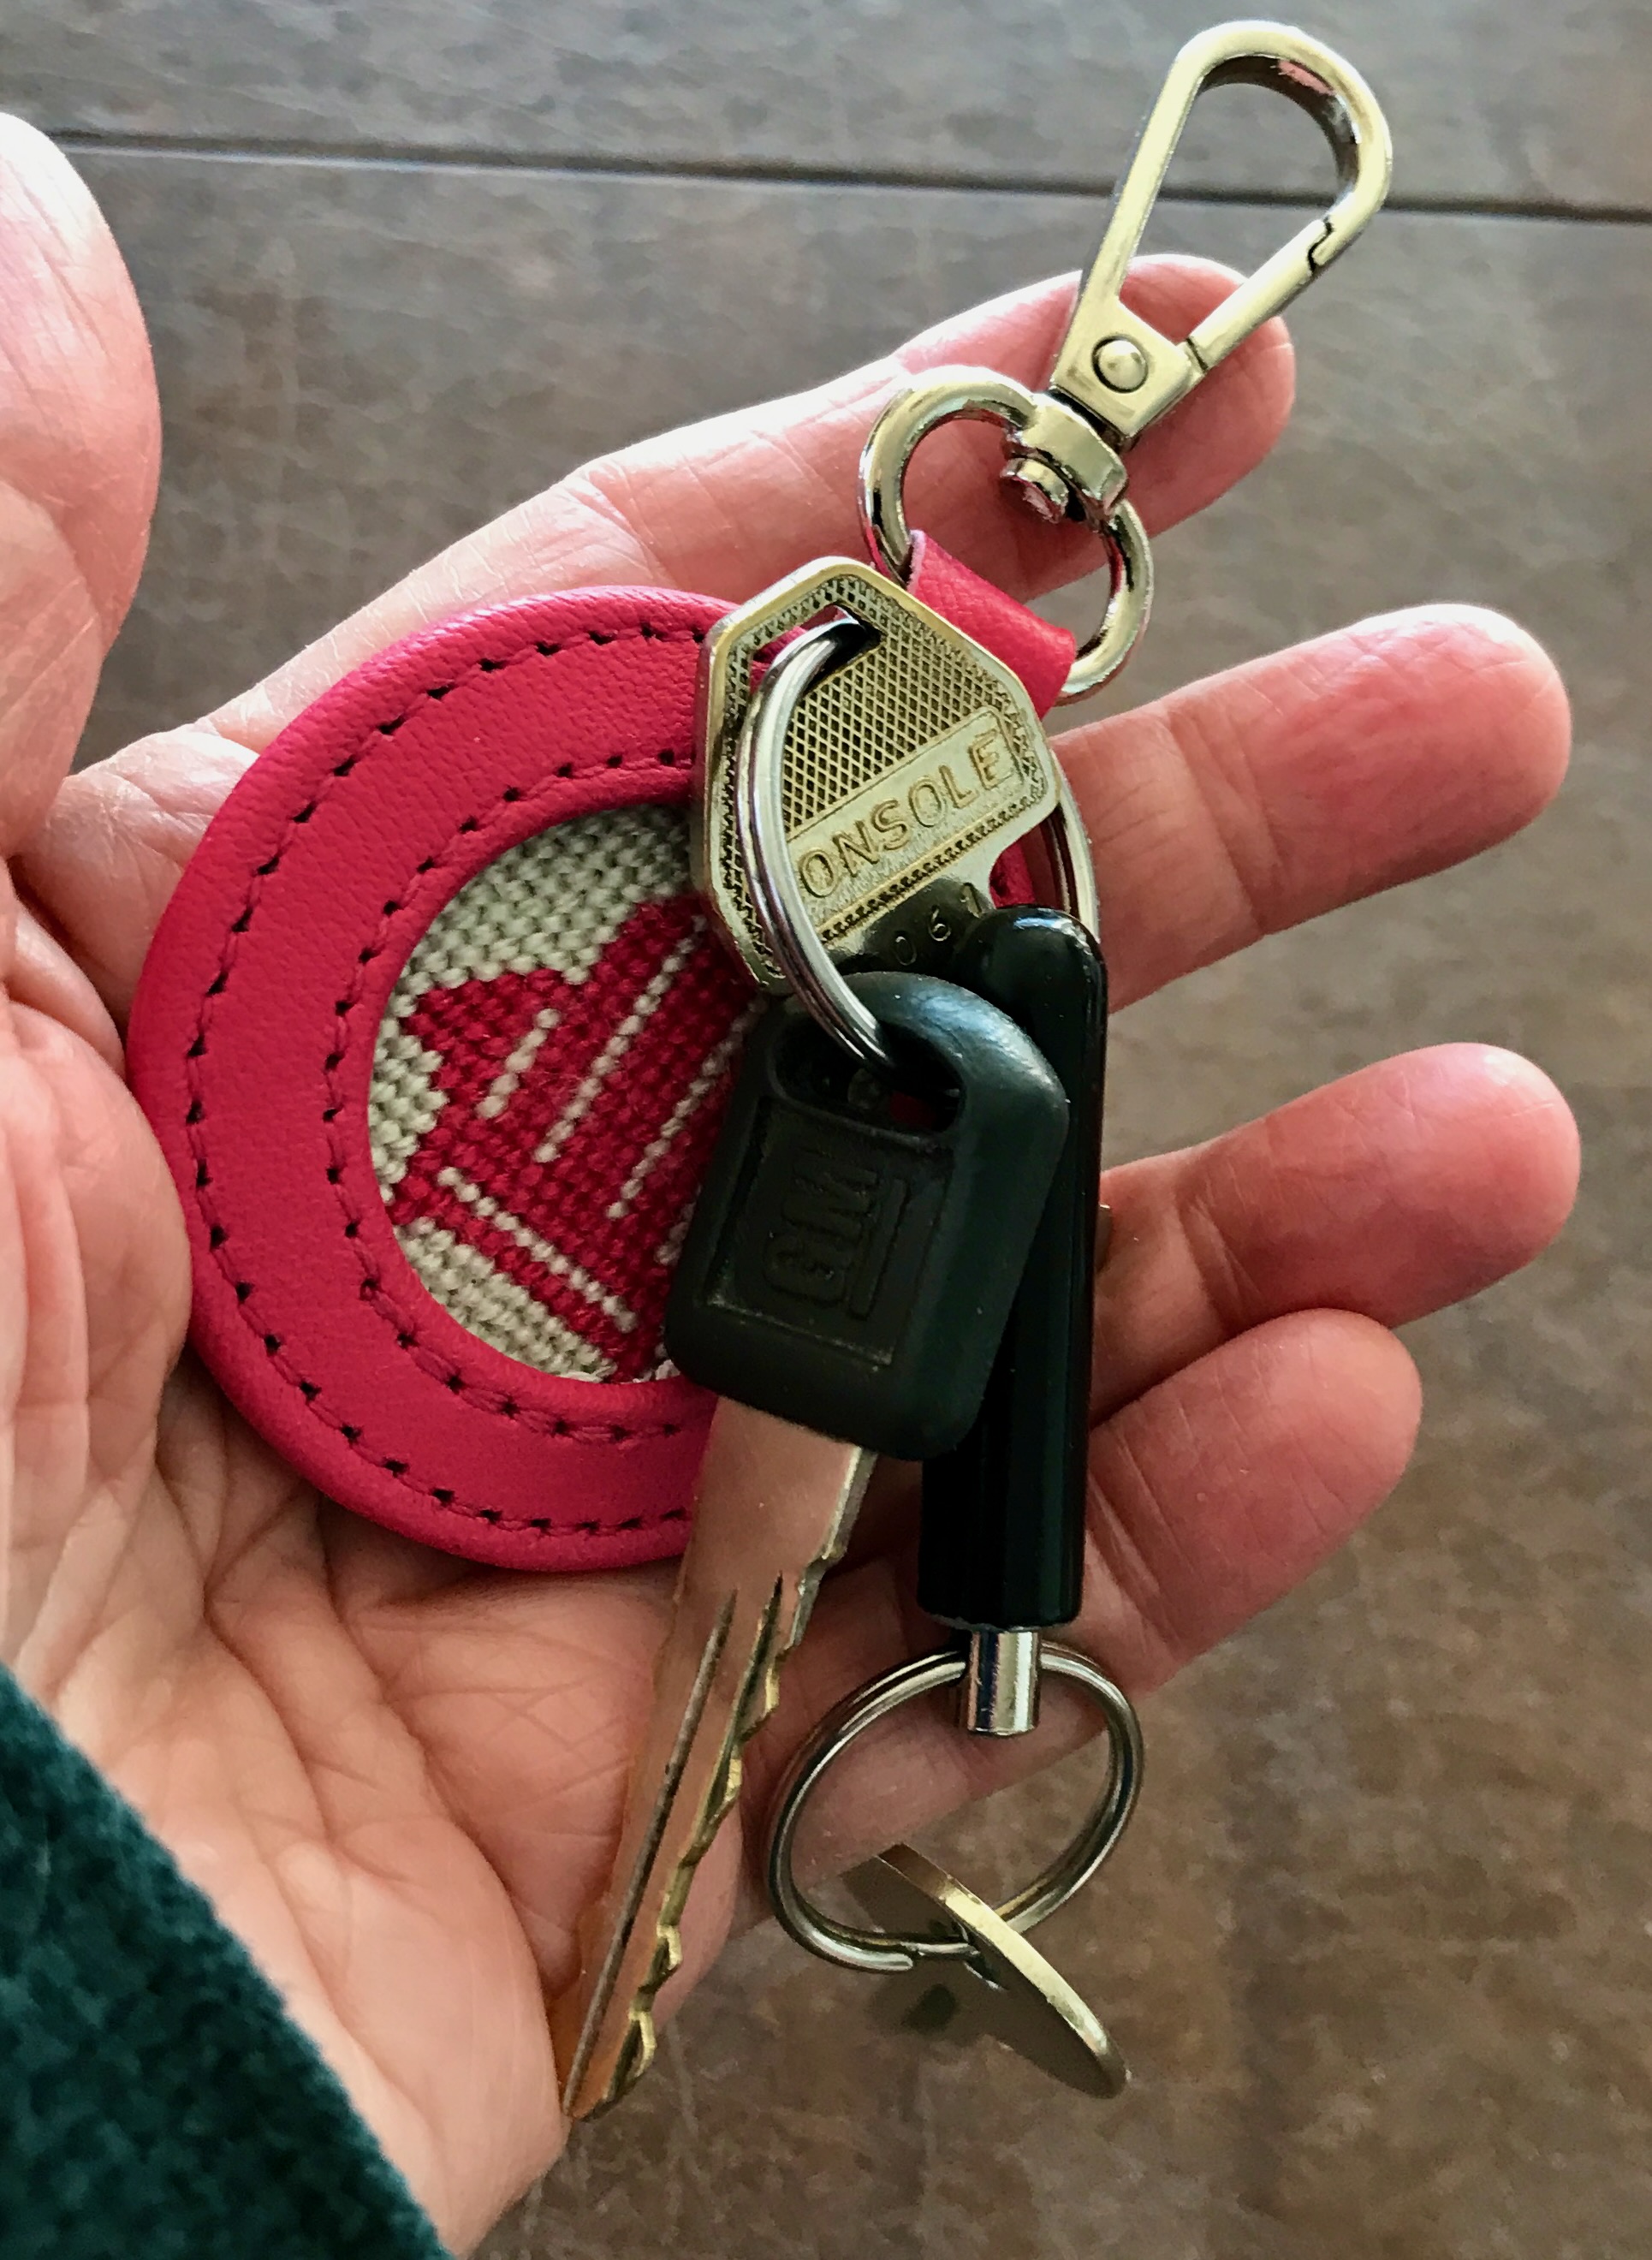
I received one of Planet Earth's key fobs as a present for Christmas, along with a tiny canvas and two cards of Planet Earth's Essentials.  Lucky me!  If you haven't seen them in person, the fob is made from heavy leather with a key ring and a clip to attach to your purse or tote bag. They come in a large selection of colors and are self-finishing.

All you need is a canvas that's about an inch in diameter and you are good to go.  My canvas is from Kristine Kingston and is a darling little Adirondack chair.  Check with your favorite shop.  They often kit the fob with a coordinating canvas and the threads needed to stitch it.

My canvas and fob came with two cards of Planet Earth Fibers' Essentials, which is a silk-wool blend sort of like Caron's Impressions but smaller in diameter.  Stitch the canvas (which will only take 2-3 hours) and follow these instructions:

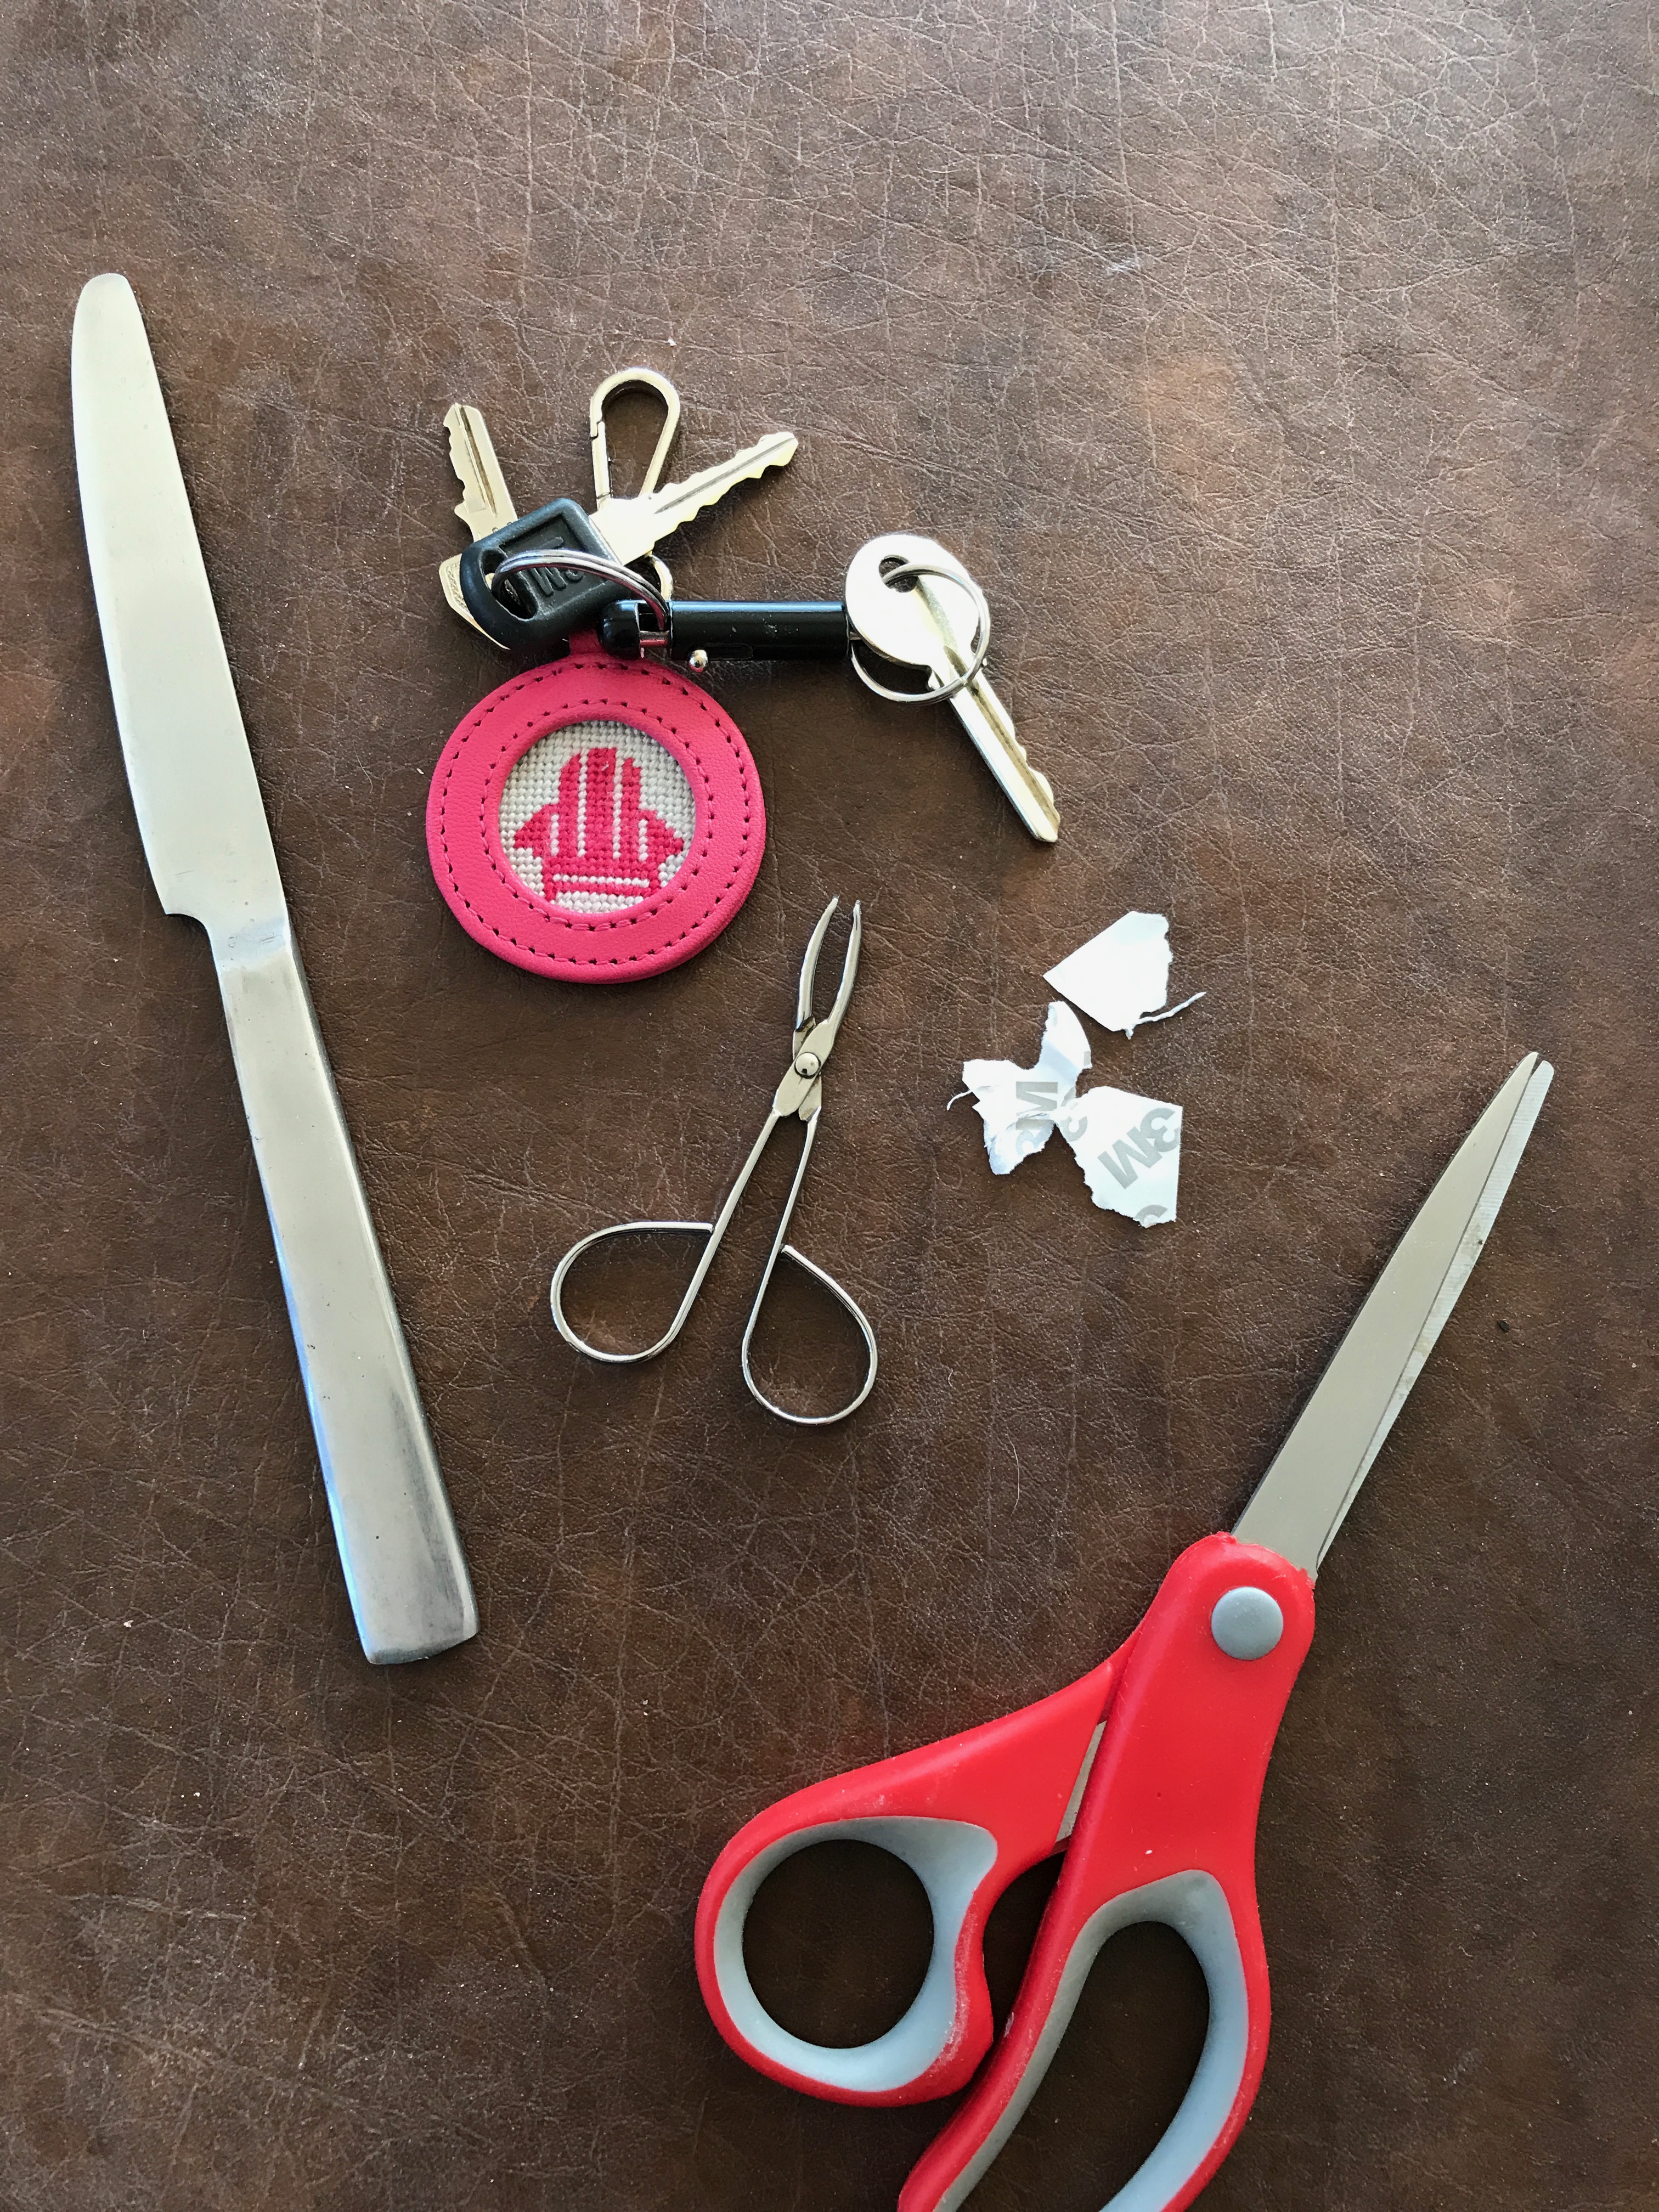
An instruction card comes with the key fob.  I measured the canvas and the key fob area where it will go and discovered I should stitch up to, but not over, the gray line surrounding the canvas.  After I stitched the design I cut it out at the outside edge of the gray line so there's one unstitched thread left.  I recommend you stitch the canvas in basketweave for durability as you have to shove the canvas under the leather and it'll be tossed in your bag and bang against things.  

I suggest besides using a butter knife (some folks use leather burnishers or the blue tack remover that comes with a box of tacks for attaching canvas to your stretcher bars) that you use tweezers to help get all the waxed paper away from the sticky surface.  It will sometimes tear off unevenly and leave a bit under the leather edge.  A little doesn't matter but you want to get the bigger pieces up.  Tweezers help with that.


Center your canvas and push it down in the middle with your thumbs, then use your fingernail (or the butter knife or similar tool) to go around the inside edge, pushing the canvas down there.  You'll have the edges sticking up as you see on the paper pattern I made above.  That is what you want.  


Now you can take the blunt tool you've chosen to lift up the leather lip slightly.  Use the tool to push the outside edge of the canvas under the leather.  Continue around the canvas--lifting the leather, then pushing the canvas under it.  The canvas is stiff so go slowly and work it under gently.  If you have a thread start to come away, don't worry.  Cut it off if you can or shove it under the leather lip with the butter knife.  


Once the canvas is under the edge of the leather, press it down with your fingers well, just in case you didn't get it firmly stuck to the sticky layer earlier.  Add your keys and you are good to go!

Written by Jane/Chilly Hollow
Blogging at http://chillyhollownp.blogspot.com
and at http://chstitchguides.blogspot.com
© Copyright December 26, 2022 Jane M. Wood. All rights reserved.

Sunday, January 6, 2019

Turkish Jewels Scissors Case, Fob and Needle Book

Bobbin and Fred has published the instructions for their needle book on their website.  The instructions for the scissors case and fob were in Needlepoint Now's November-December 2018 issue.
https://www.sewingwithbobbinandfred.co.uk/2018/11/new-pattern-turkish-jewel-scissor-pouch.html

All of the pieces of the set were sewn on 14 count plastic canvas so you can easily substitute 13 count needlepoint canvas if you prefer.  Plastic canvas is stiffer, of course, and the cut edges won't unravel.  Here's how to join pieces of plastic canvas together.
https://www.sewingwithbobbinandfred.co.uk/2018/12/how-to-join-two-pieces-of-plastic.html

Written by Jane/Chilly Hollow
Blogging at http://chillyhollownp.blogspot.com
and at http://chstitchguides.blogspot.com
© Copyright November 16, 2018 Jane M. Wood. All rights reserved.
Friday, March 3, 2017

ANG Magazines Go Digital

The American Needlepoint Guild has decided to make their Needle Pointers magazine digital so that folks eagerly waiting their next issue can read it online until the post office delivers the hard copy.

The step-by-step instructions for accessing the magazine are here.  Note that you will need your user name and password to log onto the section of the website that has this digitized content.  I didn't know I even had one!  ANG has apparently assigned everyone this.  To discover what yours is if you have not ordered anything from the website online, use the email address you have given ANG to send you newsletters and ask for the password to be sent to you.  That's how I logged in.
http://d31hzlhk6di2h5.cloudfront.net/20170301/55/db/05/4d/2935c71ef87f4cc1e8659155/Instructions_on_how_to_access_the_digital_Needle_Pointers_magazine2.pdf

The Seminar Brochure, which is also digitized, can be accessed this way.
http://d31hzlhk6di2h5.cloudfront.net/20170228/50/22/67/b0/25ec48c6230616ac716e6b1e/Instructions_on_how_to_access_the_digital_Seminar_Brochure.pdf

Once you log in, you have to manipulate the online magazine.  Sadly, you can only enlarge the text and photos once, which makes reading tiny text difficult.  (I haven't tried this on a mobile device which may have more options for enlarging text, diagrams and photographs.)  You won't get a much better photo or diagram, either.  This tells you how to turn the page, enlarge the text, etc.
http://d31hzlhk6di2h5.cloudfront.net/20170228/54/c9/56/ee/7d5d17ed09be4539f62ad703/Instructions_on_how_to_view_the_digital_Needle_Pointers_magazine_and_Seminar_Brochure_in_BrightCopy.pdf

Yes, it is complicated but once you get your logon and password and try it, it is a lot easier.  This is a nice way of reading the magazine and Seminar brochure for those who are comfortable with online viewing or who are impatiently awaiting postal delivery.

Written by Jane/Chilly Hollow
Blogging at http://chillyhollownp.blogspot.com
and at http://chstitchguides.blogspot.com
© Copyright March 2, 2017 Jane M. Wood. All rights reserved.
Wednesday, July 1, 2015

Basic Ornament Finishing Instructions

Just Cross Stitch magazine has published simple instructions for finishing small ornaments from their popular Christmas and Halloween ornaments issues.   If you want a flat finished ornament or one that is padded into a miniature pillow shape, this can help you do it yourself.  There is even a tutorial for making twisted cord for the edge and a loop hanger.
http://www.just-crossstitch.com/newsletters.php?mode=article&article_id=5175&key=JCXN&tp=i-H43-6o-9bH-yPJpV-1o-PE45-1c-yPGN0-bZCOS

Finishing is not hard but it does take practice.  Why not pull out those little ornaments you've stitched but never sent to a finisher and practice doing it yourself?  It will give you a new appreciation for professional finishers and help you explain what you like and what you don't the next time you use a pro.  And you might save a little money and enjoy something that is totally made by you start to finish.

Written by Jane/Chilly Hollow
Blogging at http://chillyhollownp.blogspot.com
and at http://chstitchguides.blogspot.com
© Copyright June 24, 2015 Jane M. Wood. All rights reserved.

Thursday, January 22, 2015

How to Make A Christmas Ornament in Four Easy Lessons

I know Christmas is past but I didn't have the time to post Mary Corbet's instructions on how to make an easy but colorful Christmas ornament during the week before or the week of Christmas. I already had too many fun things to post then. So I waited until after the holidays so we can start the new year with a new project for 2015. This doesn't have to be a Christmas ornament, after all. Perhaps your office bulletin board needs an ornament in the company logo colors? Or maybe you just want something decorative to hang on a lamp or door knob. Whatever your desires, Mary shows how to create your own embroidery ornament from start to finish here. At the very least you can use the assembly instructions to make up a round ornament you have already stitched.  Have fun--and Happy New Year!
http://www.needlenthread.com/2014/12/embroidered-christmas-ornament-part-1.html

http://www.needlenthread.com/2014/12/embroidered-christmas-ornament-from-stash-part-2.html

http://www.needlenthread.com/2014/12/hand-embroidered-christmas-ornament-part-3.html

http://www.needlenthread.com/2014/12/how-to-finish-an-embroidered-christmas-ornament.html

Written by Jane/Chilly Hollow
Blogging at http://chillyhollownp.blogspot.com
and at http://chstitchguides.blogspot.com
© Copyright December 23, 2014 Jane M. Wood. All rights reserved.

Monday, October 1, 2012

Do It Yourself Snap Tray UPDATED

When I posted about the huge variety of snap trays available to hold your tools and threads while you work in style, Erica spoke up about this link to a site with instructions for making your own "travel trays."  Judging from the photo, there is a version that uses Velcro to join the corners instead of snaps, too.  Since this link was in a Comment, I wasn't sure many folks would see it, so I'm posting about Erica's find in a message you will see, in case you are interested in making these yourself.
http://patternspot.com/patterns/sewing-patterns/1617-travel-tray

Many many thanks, Erica!

UPDATE:  Here's Erica's new home made snap tray.  Cute!
http://ericasplaces.blogspot.ca/2012/10/its-snap.html

Written by Jane/Chilly Hollow
Blogging at http://chillyhollownp.blogspot.com
and at http://chstitchguides.blogspot.com